Red Currant Muffins
- Melissa Castle

- Aug 29, 2017
- 3 min read
Updated: Jul 1, 2019
Origin: I can't figure out where currant muffins came from, but currants were first grown in Europe and muffins, muffins are a bit weird. There are tea muffins from England, English muffins from England, and then quick bread muffins like the ones below that are American. I don't know where to place these muffins, but I'm going to say...American
Currants are such an interesting berry, so small, but they carry such a strong flavor that is beautiful. The batter itself is not sweet, but instead creates a perfect breakfast blend with the currants. The flavor from the currants definitely blossoms after they bake and brings out a wonderfully sour surprise in a wonderfully calm batter.

Makes About: 15-20 muffins
Takes About: 1 hour
Difficulty: 1 out of 5
Prep:
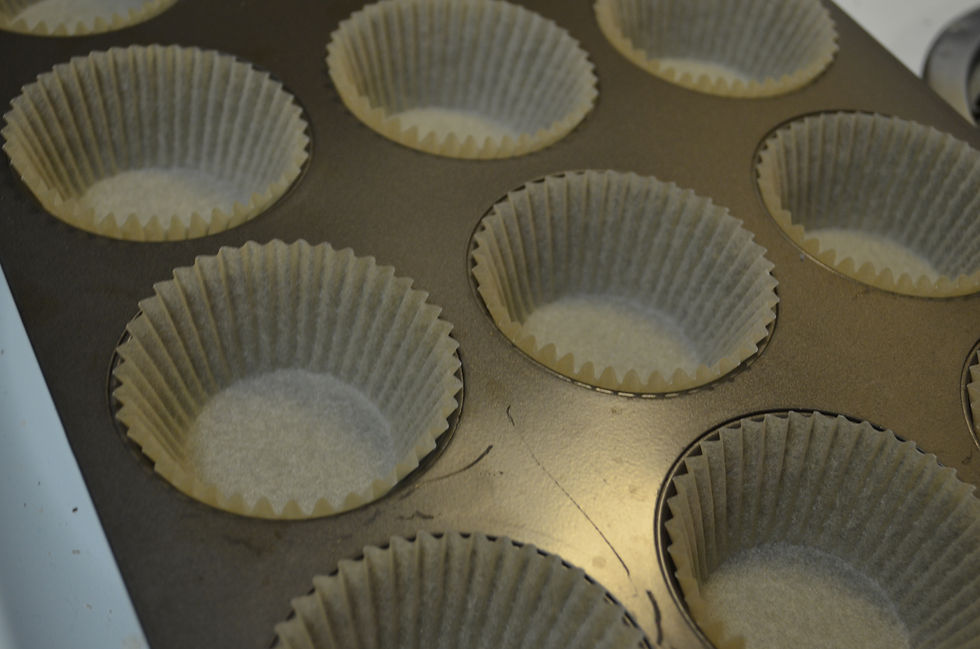
Place muffins papers into a muffin pan and preheat the oven to 375 degrees F.

Prepping the red currants:
They are a beautiful red berry that is tart and slightly seedy.

There is a little brown pod at the bottom of the currant that does not have to be removed, but be sure to remove the stem at the top of the berry. This stem adds more structure to the berry than I would have originally thought, so yes, they are kind of hard to get out and may get smashed in the process, but this does not change the berry itself.
Ingredients:
2 cups flour
1 cup sugar
1 tablespoon baking powder
1/2 teaspoon salt
1/2 cup butter - melted
1/2 cup milk
2 eggs
1 1/2 teaspoons vanilla extract
1 1/2 cups red currants
1/2 cup red currants - for topping
Instructions:
- Step 1 - Mix the Dry Ingredients
In a large bowl, mix 2 cups of flour, 1 cup of sugar, 1 tablespoon of baking powder, and 1/2 teaspoon of salt until well combined. Once mixed, set aside until needed.

- Step 2 - Melt the Butter
Melt 1/2 cup of butter in a small sauce pan.

- Step 3 - Once Butter is Melted Set Aside
Once the butter has completely melted set the butter aside to cool while you mix the remaining wet ingredients.
- Step 4 - Mix Remaining Wet Ingredients
In a medium bowl, mix together 1/2 cup of milk, 2 eggs, and 1 1/2 teaspoons of vanilla extract until combined and the eggs are well mixed.


- Step 5 - Add Cooled Butter to Wet Ingredients
Once the butter has cooled slightly mix a dash of the butter into the egg, milk, and vanilla mixture to temper the eggs. Once tempered (meaning once the butter and eggs are the same temperature), add the rest of the butter to the wet ingredients and mix quickly and well.


- Step 6 - Mix Wet and Dry Ingredients
Poor the wet ingredients over the dry ingredients and mix until the two become a nice firm batter.


The batter will have a pretty heavy and solid texture. This is the desired texture, it creates a nice soft muffin that is hearty and slightly dense.

- Step 7 - Fold in Currants
Once your berries are ready, add 1 1/2 cups of red currants to the batter.

Make sure the berries are being folded into the batter very delicately because you want these tart berries to be the show stopper. They should not create a red batter, but instead little red sour surprises with every bite.

- Step 8 - Spoon Batter into Muffin Papers
Spoon the batter into the muffin tins filling the muffins about 3/4th of the way.

- Step 9 - Add Currants to the Top of the Muffins Before Baking
Using the extra 1/2 cup of red currants add a few currants to the top of each muffin.

- Step 10 - Bake
Bake the muffins for about 25-30 minutes or until a toothpick comes out clean and the tops are golden brown.
- Step 11 - Cool Slightly
Cool the muffins for a few moments and move them to a cooling rack as another batch goes into the oven.
- Step 12 - Enjoy the Tart Treats
After these muffins are not piping hot enjoy these tart bites of delicious flavor.

Found this recipe on "Heather Homemade." This recipe was really great. I followed this recipe very closely, but added a few steps for people who need a little more help baking.


Comments